| description | We explain everything you need to do here to get Color-Chan up an running in your server! |
|---|
You can invite Color-Chan with the following link: https://colorchan.com/permalinks/invite
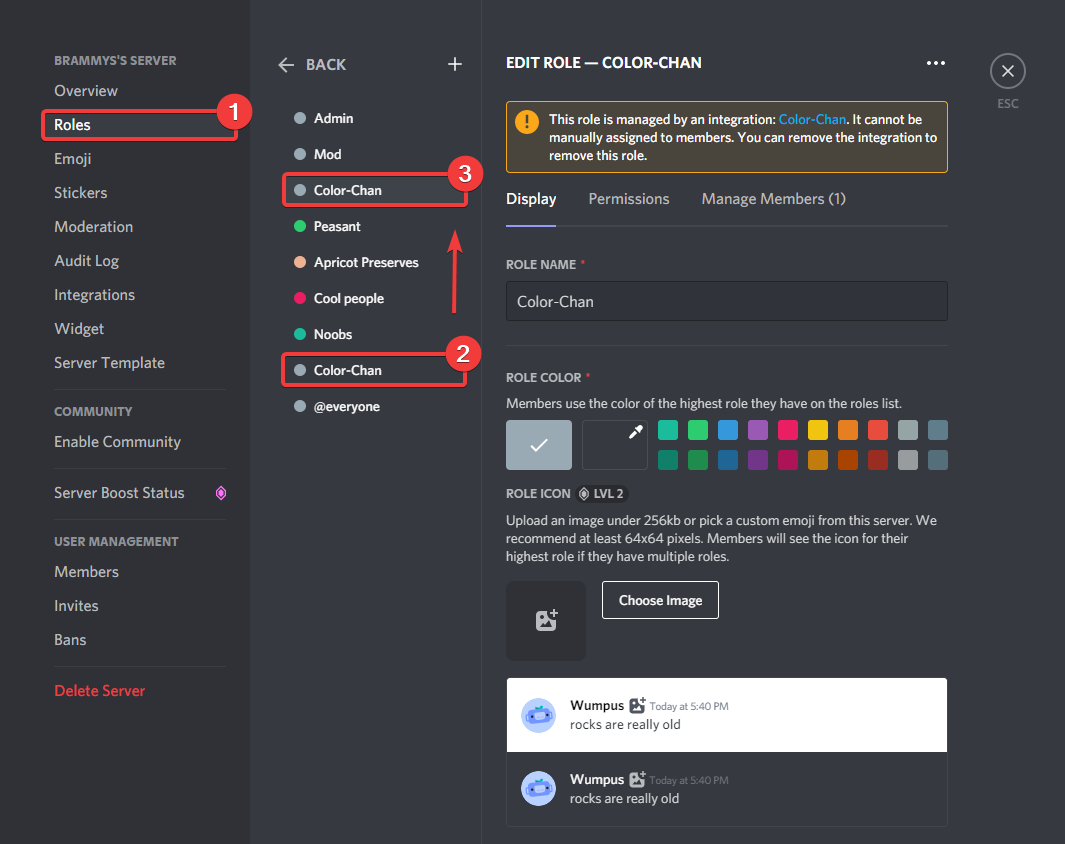
Color-Chan creates the color roles below her highest role. You will need to drag Color-Chan above all the roles that do not have the Default color role, to avoid overlapping issues with colors from different roles.
{% embed url="https://cdn.colorchan.com/docImgs/ColorChanRolePos.png" %} Moving Color-Chan's role. {% endembed %}
You can add a default color list with: /add default colors, or you can add a random color with /add random color. You can also add your own color with /add rgb color and /add hex color by providing a name and a color code. More information about color codes can be found here. Examples on how to use the add color commands can be found on the Adding colors page.
{% content-ref url="adding-colors.md" %} adding-colors.md {% endcontent-ref %}
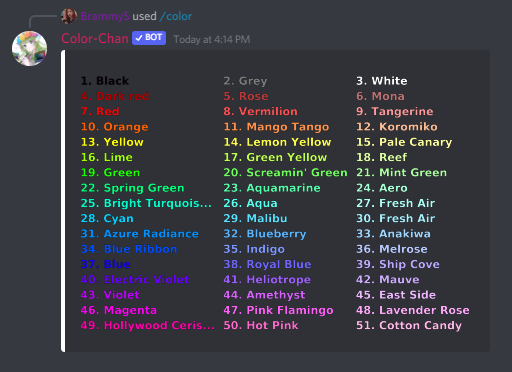
You can now view your color list with /color list, after you have added one or more colors.
{% embed url="https://cdn.colorchan.com/docImgs/ColorListCommand.png" %} Color list command response. {% endembed %}
You can also create a reaction color message with Color-Chan. these can be created with:
/add reaction colors and /add reaction color.
Examples on how to use the add reaction color commands can be found on the Managing reaction color lists page.
{% content-ref url="managing-reaction-color-lists.md" %} managing-reaction-color-lists.md {% endcontent-ref %}
{% embed url="https://cdn.colorchan.com/docImgs/ColorReactionList.png" %} Color reaction list. {% endembed %}