The Image Editor is a web-based application that allows users to perform various image editing tasks, such as removing the background, cleaning up images, cropping, replacing backgrounds, upscaling, and generating images from text prompts. The application leverages the ClipDrop API for these editing functionalities.
- Remove Background: Remove the background from an image.
- Cleanup: Clean up images using advanced image processing techniques.
- Image Upscaling: Increase the resolution of an image.
- Text to Image: Generate an image from a text prompt.
- Crop Image: Crop an image with specified dimensions and positions.
- Replace Background: Replace the background of an image.
Before running the Image Editor, ensure you have the following installed:
- PHP
- Composer
- ClipDrop API Key
-
Clone the repository:
git clone https://github.com/Hazhee/ImageEditor.git
-
Change into the project directory:
cd ImageEditor -
Install dependencies:
composer install
-
Set up your environment variables by creating a copy of the
.env.examplefile:cp .env.example .env
-
Update the
.envfile with your ClipDrop API key:CLIPDROP_API_KEY=your-api-key
You can claim 100 points along with an api key from Clipdrop by making an account (https://clipdrop.co)
-
Generate an application key:
php artisan key:generate
-
Run the application:
php artisan serve
The application will be accessible at http://localhost:8000.
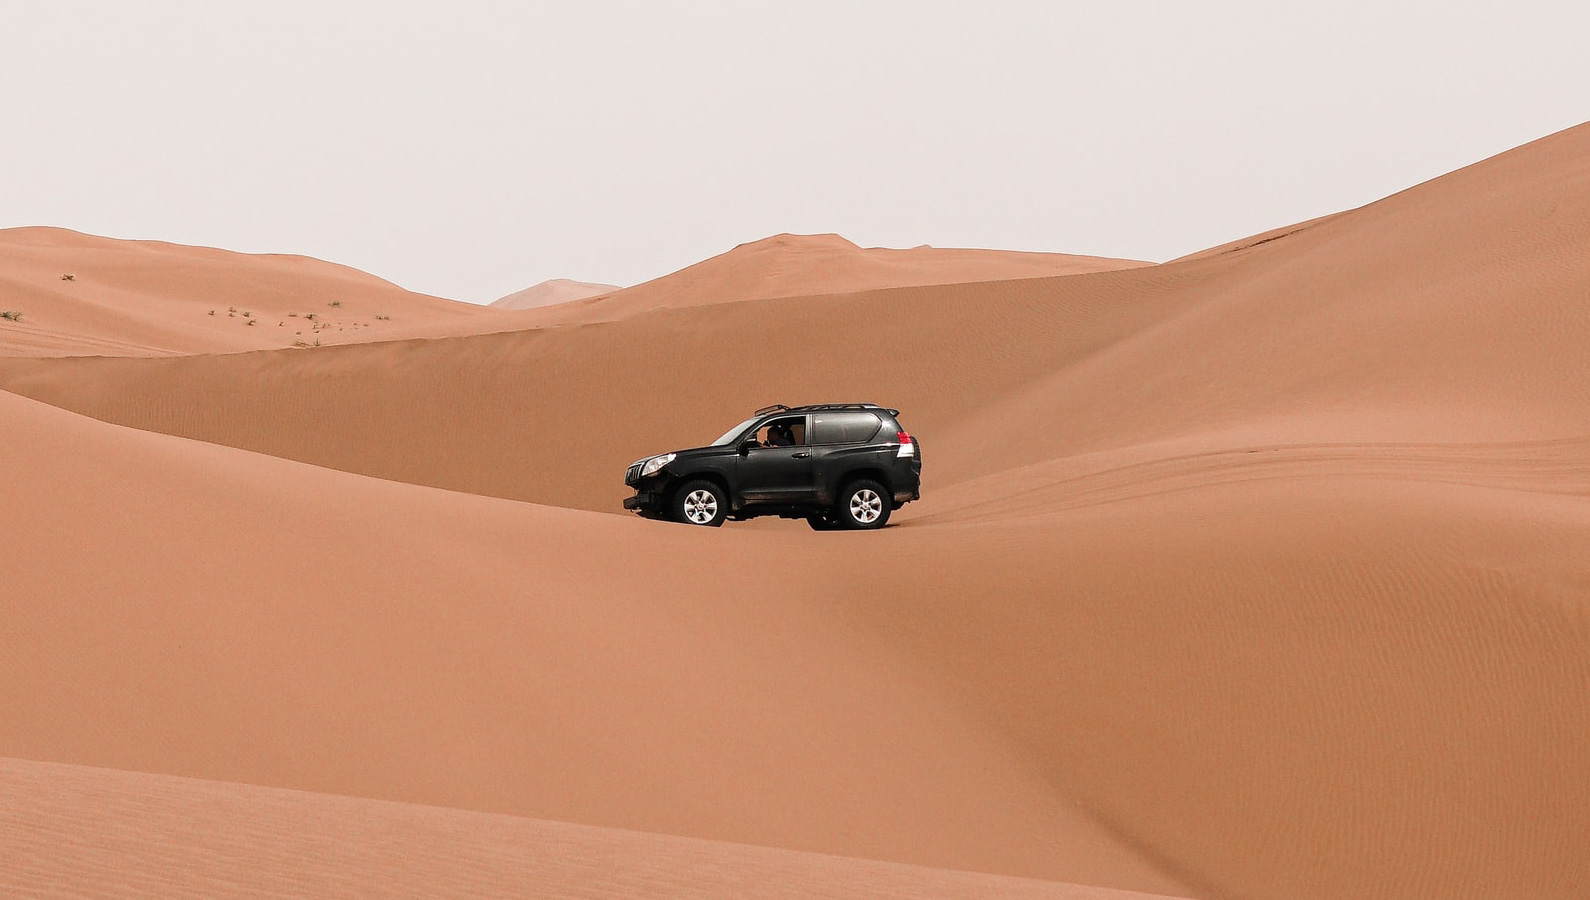
To remove the background from an image:
- Visit http://localhost:8000/background/remove.
- Upload an image.
- The original image to process. It should be a PNG, a JPG or a WEBP file, with a maximum resolution of 25 megapixels and a max file size of 30 Mb.
- Optionally, specify width, height, and rotation angle.
- Click "Remove Background."
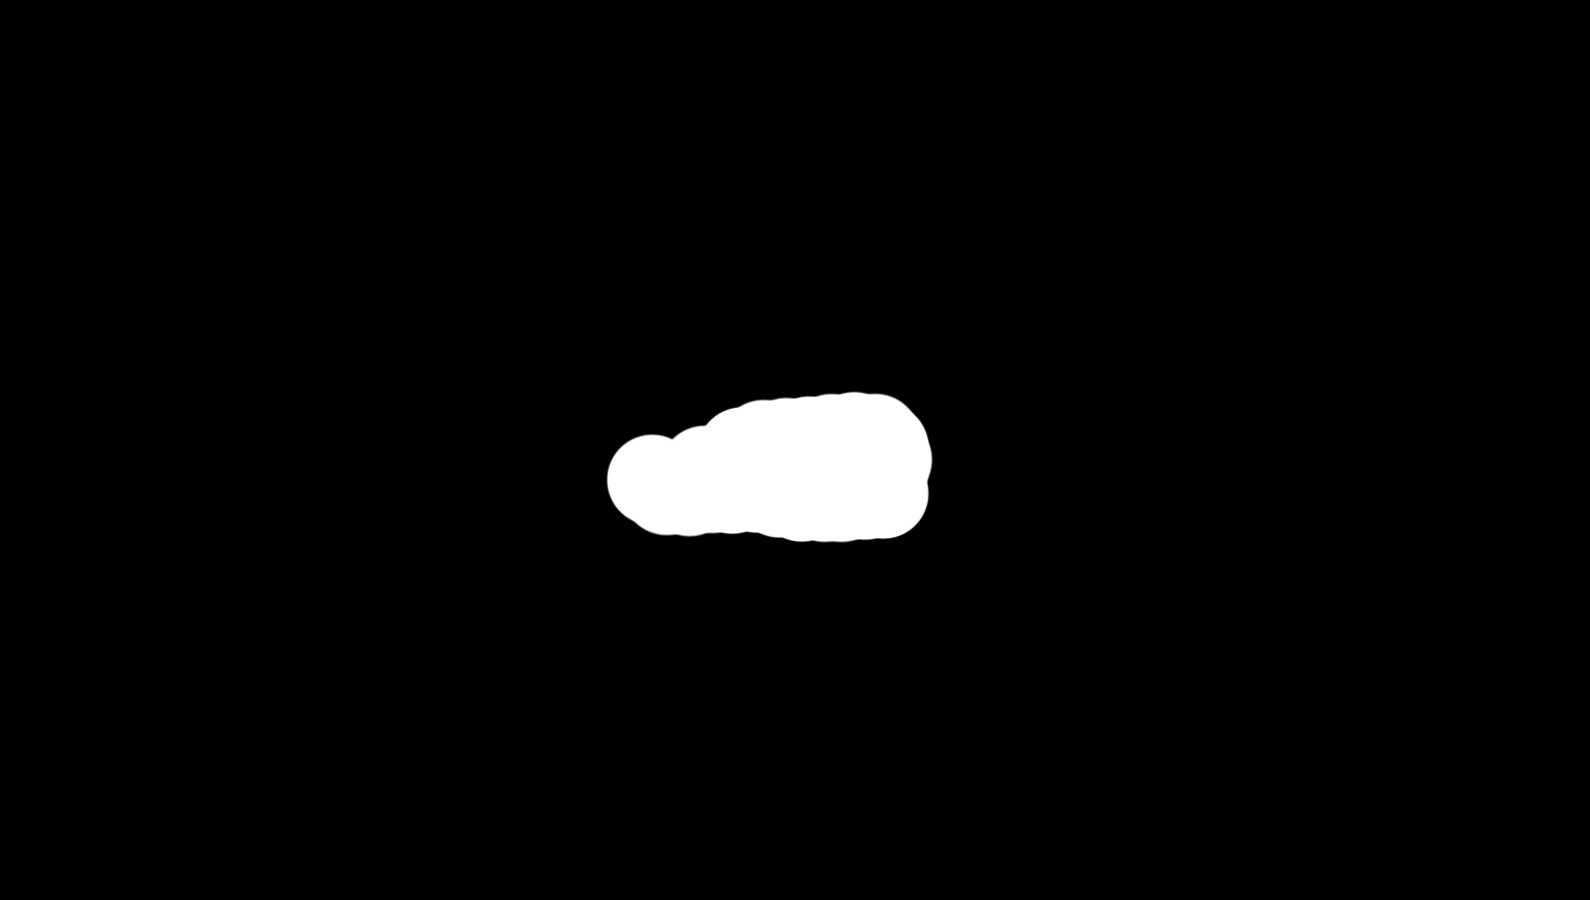
To clean up an image:
- Visit http://localhost:8000/cleanup.
- Upload an image and a mask.
- The original image should be a JPG or a PNG, with a maximum resolution of 16 megapixels and a max file size of 30 Mb.
- The mask image should be a PNG, and should have the same resolution as the original image and a max file size of 30 Mb. The mask should be black and white with no grey pixels (e.g. values of only 0 or 255), the value of 0 indicating a pixel to keep as is and 255 a pixel to 'clean up'
- Click "Cleanup."
To upscale an image:
- Visit http://localhost:8000/image/upscaling.
- Upload an image.
- The original image should be a PNG, JPEG or WebP file, with a maximum resolution of 16 megapixels and a max file size of 30 Mb.
- Optionally, specify width, height, and rotation angle.
- Click "Upscale Image."
To generate an image from text:
- Visit http://localhost:8000/text/to/image.
- Enter a prompt.
- A required prompt text field describing the desired image, with a max length of a 1000 characters.
- Click "Generate Image."
To crop an image:
- Visit http://localhost:8000/crop/image.
- Upload an image.
- Specify width, height, x-position, y-position, and rotation angle.
- Click "Crop Image."
To replace the background of an image:
- Visit http://localhost:8000/replace/image/background.
- Upload an image.
- The input image should be a PNG, a JPG or a WEBP file, with a maximum width and height of 2048 pixels and a max file size of 20 Mb.
- A required prompt text field describing the scene you want to teleport your item to. The value of this field can be an empty string, in which case we will generate a scene based on your item.
- Optionally, specify width, height, and rotation angle.
- Click "Replace Background."
- Create a Heroku account and install the Heroku CLI.
- Initialize a Git repository if not done already:
git init. - Create a Procfile in your project root with the command to start your app:
web: vendor/bin/heroku-php-apache2 public/. - Commit the changes and push to Heroku:
git add .
git commit -m "Initial commit for Heroku"
heroku create
git push heroku main
In your Heroku dashboard, under the "Settings" tab, add your environment variables (e.g., APP_KEY, API keys).
The deployed version of the application can be accessed at (https://elijahimageeditor-9687250f9a6e.herokuapp.com).
If you'd like to contribute, feel free to fork the repository, make changes, and create a pull request. For bug reports or feature requests, please open an issue.
Enjoy using the Image Editor!