NAIGLÚ SYSTEM USER GUIDE
Setting up:
After cloning the Github repository, which is available at https://github.com/Ignacio-Pavone/Naiglu-Sales-System,the program must be compiled. For this, we are going to use IntelliJ IDEA Community. Here’s the step by step guide.
- Go to File, and click on Open Project.

If you are at this window, you should click on open aswell.

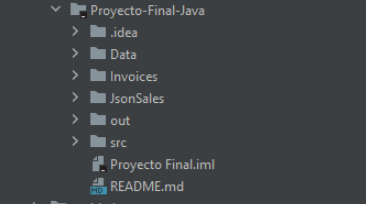
Click on the project folder (in this case, it’s named Proyecto-Final-Java)
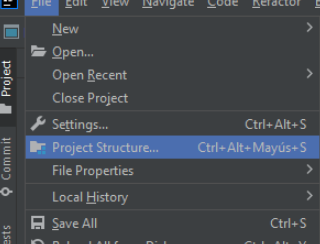
Once opened, go to File->Project Structure.
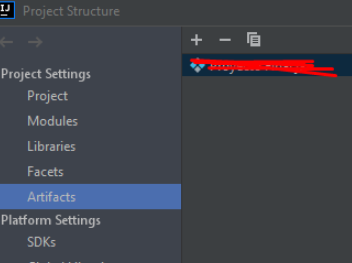
Click on artifacts, and then on the plus sign.
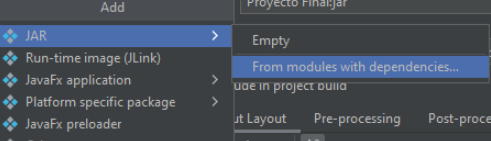
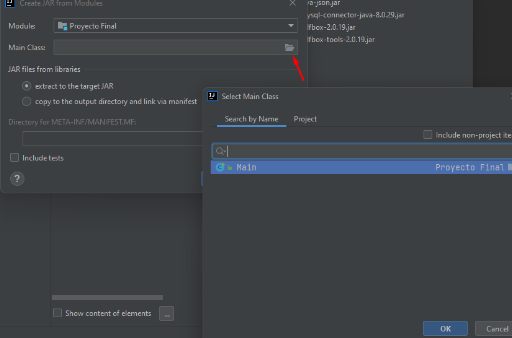
Select “JAR->From modules with dependencies…”
Click on the folder for “Main class”, select the Main file, and then press OK
Press OK and close the Project Structure dialog. Press the “Build” button. On the red folder “out”, go to artifacts->(folder name)->name.jar
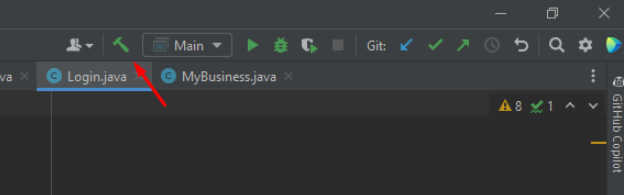

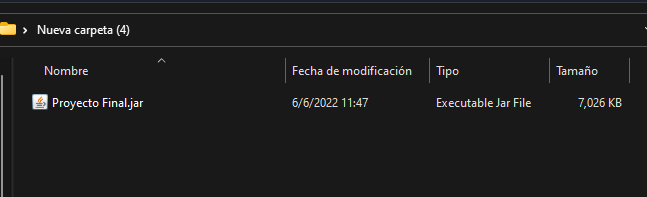
It 's done! Now all you have to do is move the .jar file to a new folder.
USING NAIGLÚ:
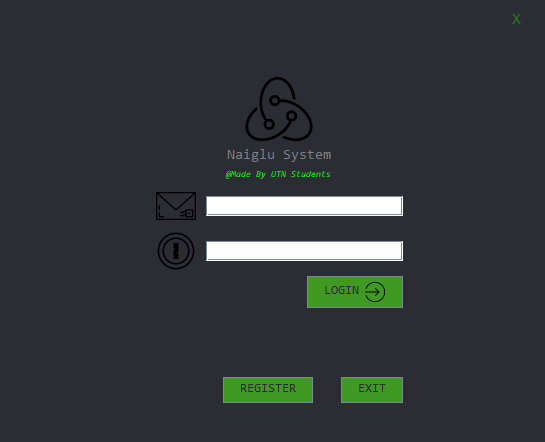
When logging in with Naiglu, you will be welcomed with a login screen. This screen requires a SQL connection. We recommend using XAMPP for a localhost connection for the database.
Here's a SQL file loaded with users. You might wish to change them, since you need to adjust this for the users in your company. You must keep in mind, though, there's both administrators and users, so you must be careful assigning this to a employee.
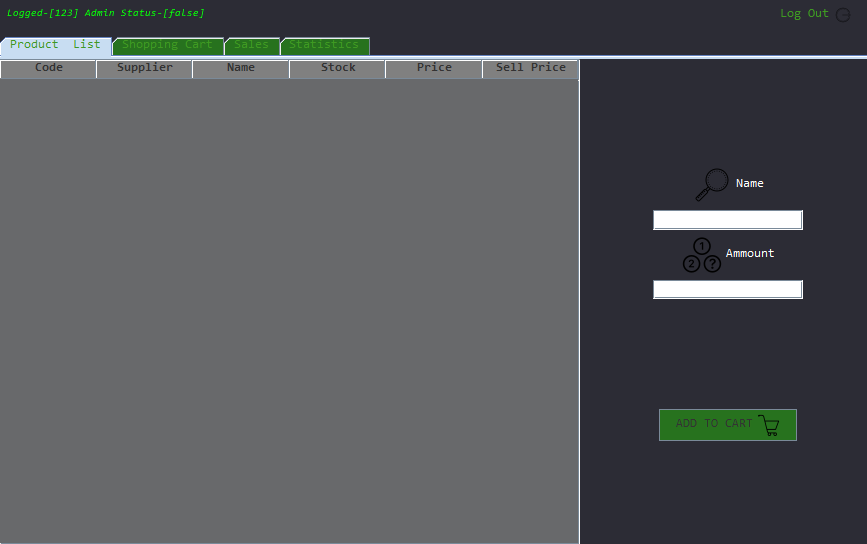
NON-ADMIN USER
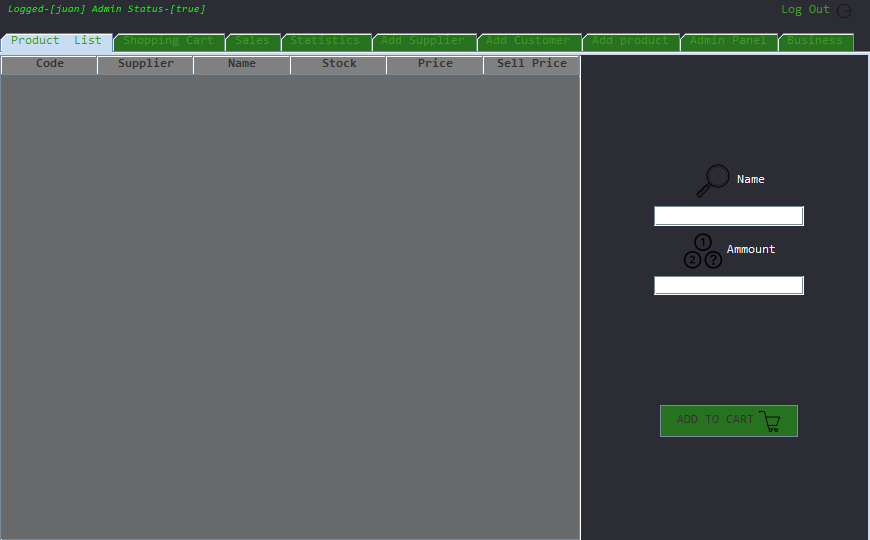
ADMIN USER
Where to start?
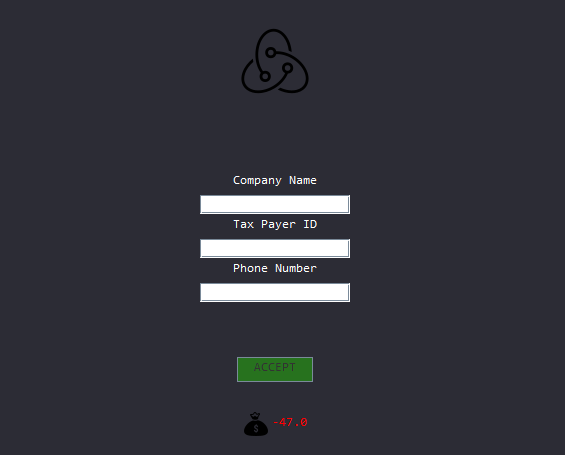
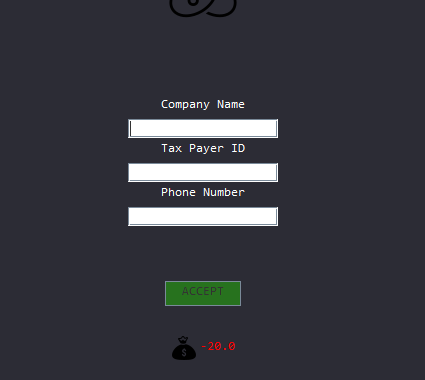
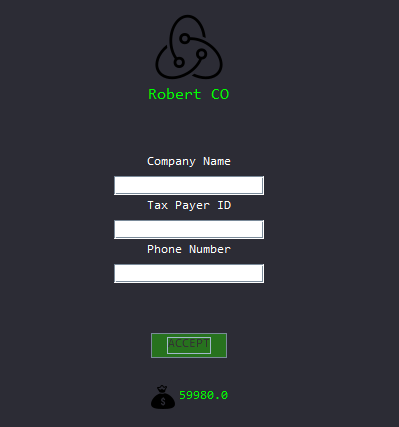
It is recommended to begin at "Business" tab, where you can set up the name of the company and fill in other details.
Then, you must add suppliers.
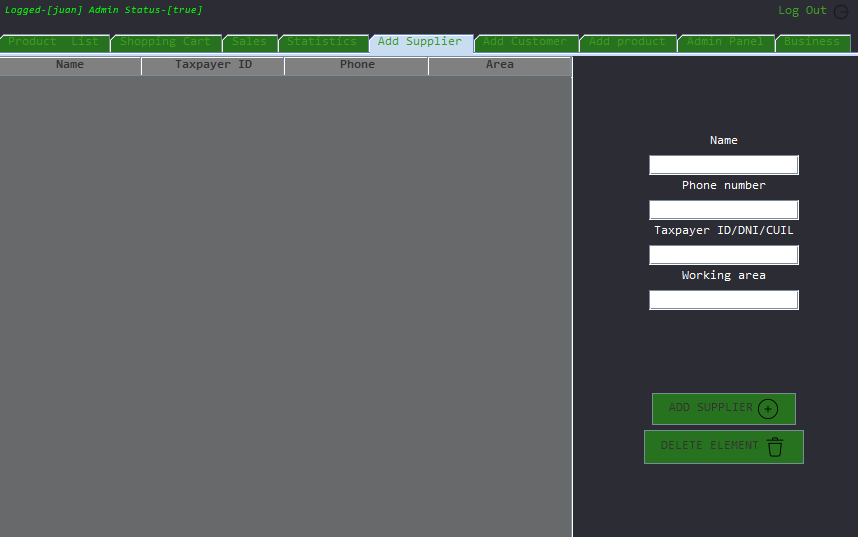
After filling all the fields, click on add supplier.
Now you can add products.
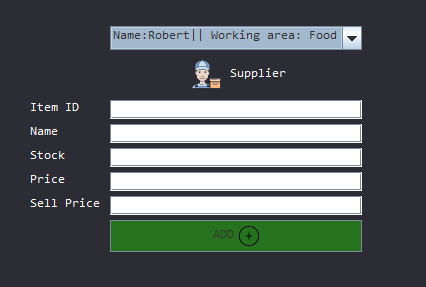
You can select any supplier from the drop-down menu. Keep in mind that the "Price" will be deducted from the business's balance, since it is essentially a purchase.
Before we can sell any products, we need to add customers.
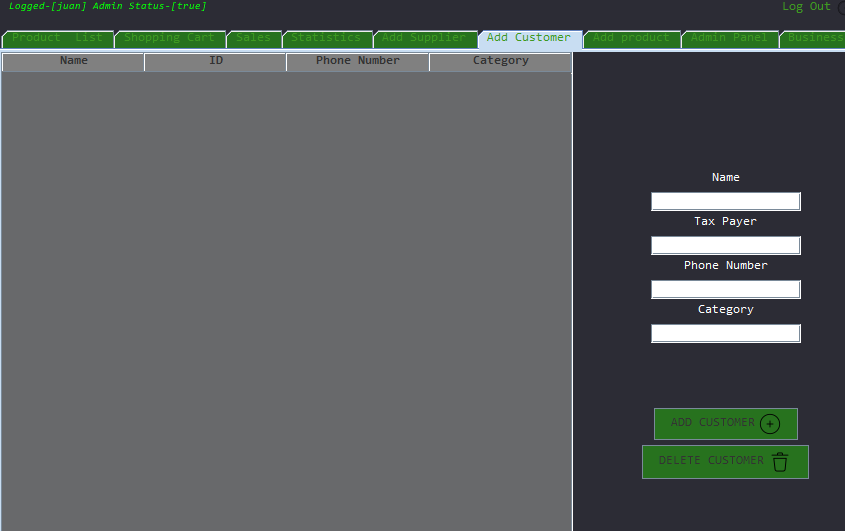
Quite similar to the "Add suppliers" tab, you must fill in the customer's data and then you're done.
Moving on to selling items, after loading a bunch of customers, suppliers and items, you will find this in the product list tab.

Select a row and add the amount of items needed of each product. Those will be added to a cart.
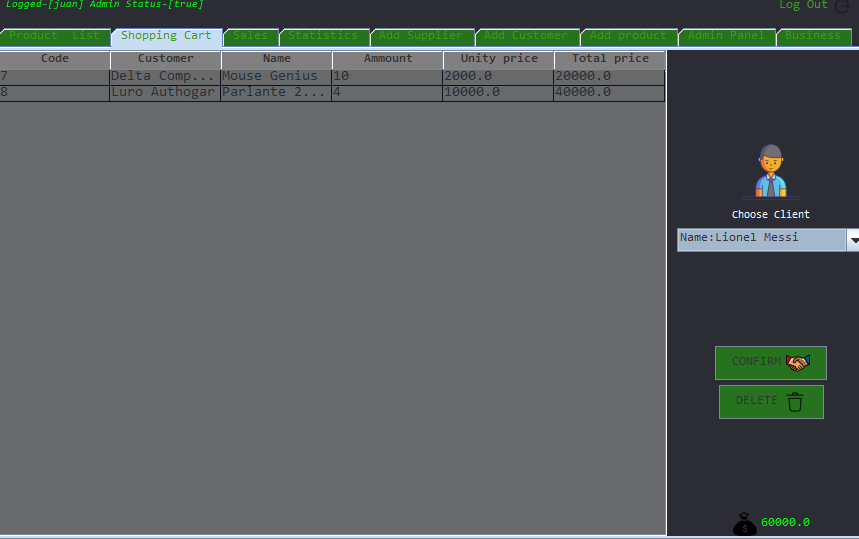
If you want to confirm the purchase, first select the right customer, and then press confirm. This will make the purchase go to the Sales tab.
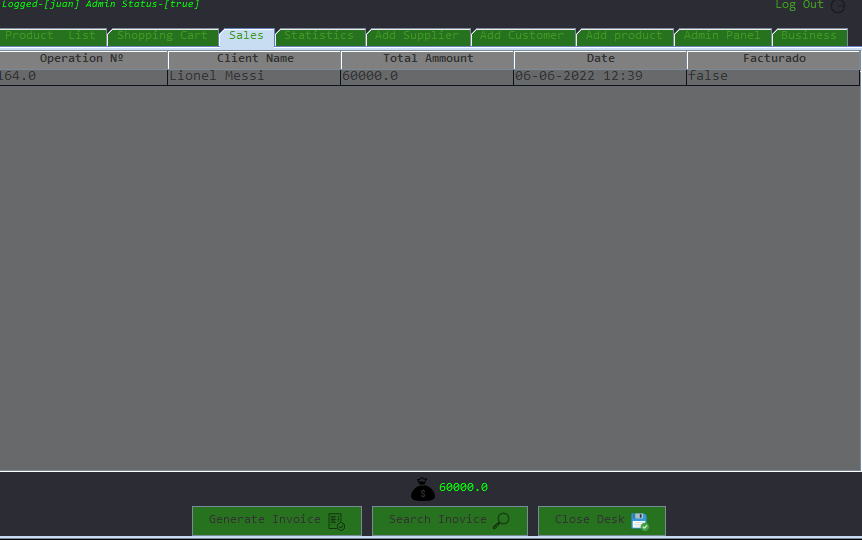
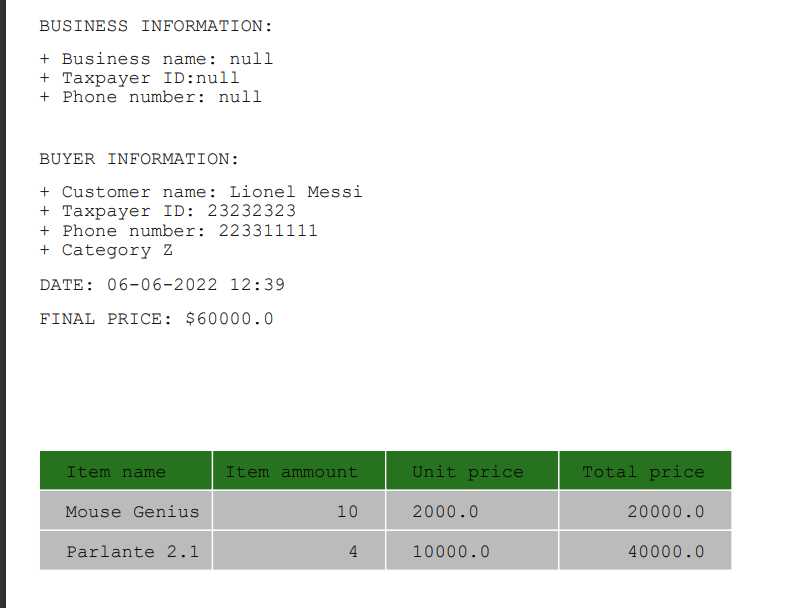
On the sales tab, you can generate invoices and see previous invoices for your sales.
After you're done with the day, you can close the desk and see the statistics on its tab. You can clear those too if you wish.
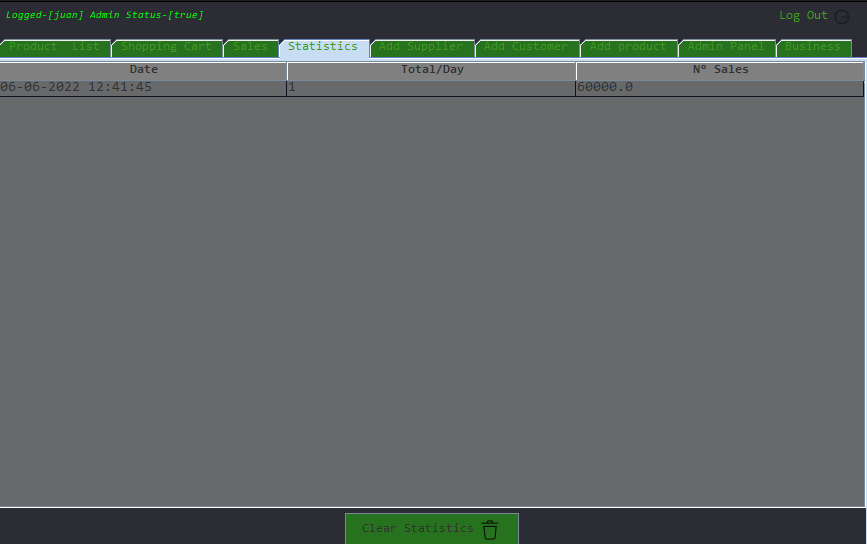
As you can see, the purchase was reflected on the account's balance.
Lastly, the admin panel. It is used if you want to modify the price/name of a product, or if you don't want to sell it anymore. You can also decrease the stock in case it was lost or wasn't well calculated in the first place.

Logging out the program and exiting will save the information loaded to the system, including sales, customers, suppliers and products. We recommend not closing the program through the Task Manager or Alt+F4 since the changes might not register.