Code your own mod with My Level Mod
Do you have a really cool idea that's not supported by My Level Mod? Are you willing to learn and work yourself to add the features you want? Look no further! My Level Mod comes with its own open source libraries you can use when coding your own mod. This tutorial goes over each library and how to use it.
Note: To learn how to code for Sonic Adventure 2, check out the X-Hax Sonic Adventure 2 wiki! And of course, if you ever need any help at any time, feel free to ask at the X-Hax discord.
If you have a simple idea or change you'd like to make, you might just be able to get away with modifying the current source code. What does that mean? Well, each mod in Sonic Adventure 2 has a main cpp file that runs and includes logic into the game. My Level Mod has been built in a way to be as simple and unintrusive as possible- meaning that its very easy to add your own code where you need to.
Disclaimer: If you would like to include changes that require access to landtable objects, or need to interfere with the way My Level Mod loads level information, you may be better off using the included libraries, and you can skip to the next sections.
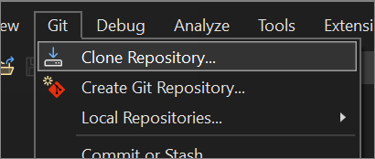
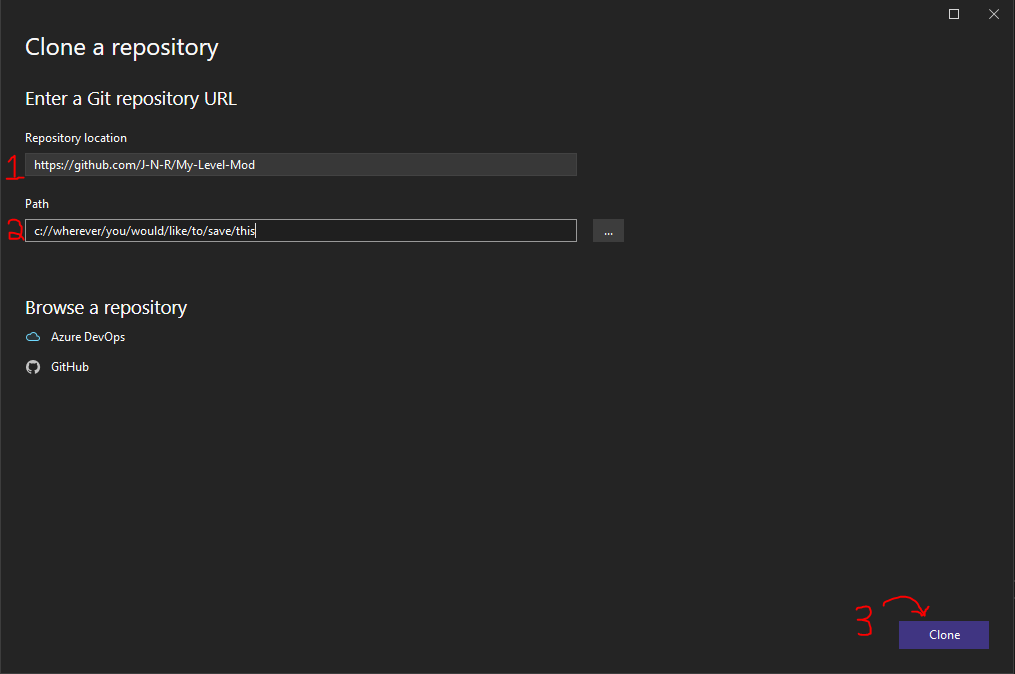
To start, clone the github repository in visual studio to get access to the My Level Mod code. You can do this by opening visual studio, and clicking "Git -> Clone Repository."
My Level Mod uses X-Hax libraries to import levels into the game. While these should come included with My Level Mod, you may need to adjust their build tools to versions that come installed on your computer. You can do this by entering the properties of the submodule projects, and updating their Windows SDK and Platform toolset:

Once you have updated and configured your dependencies, verify everything is working by setting your target to "Release x86" and by building your solution in Visual Studio.

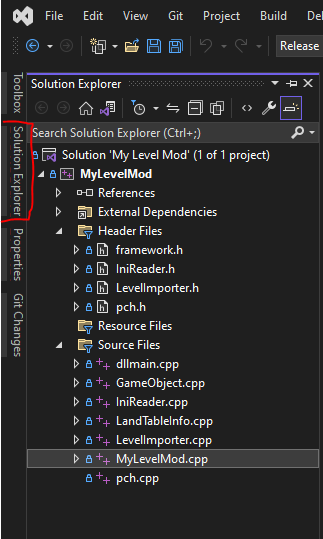
Once you've cloned the repository, find the entry point for where you can code by opening up "MyLevelMod.cpp" in Visual Studio's Solution Explorer.
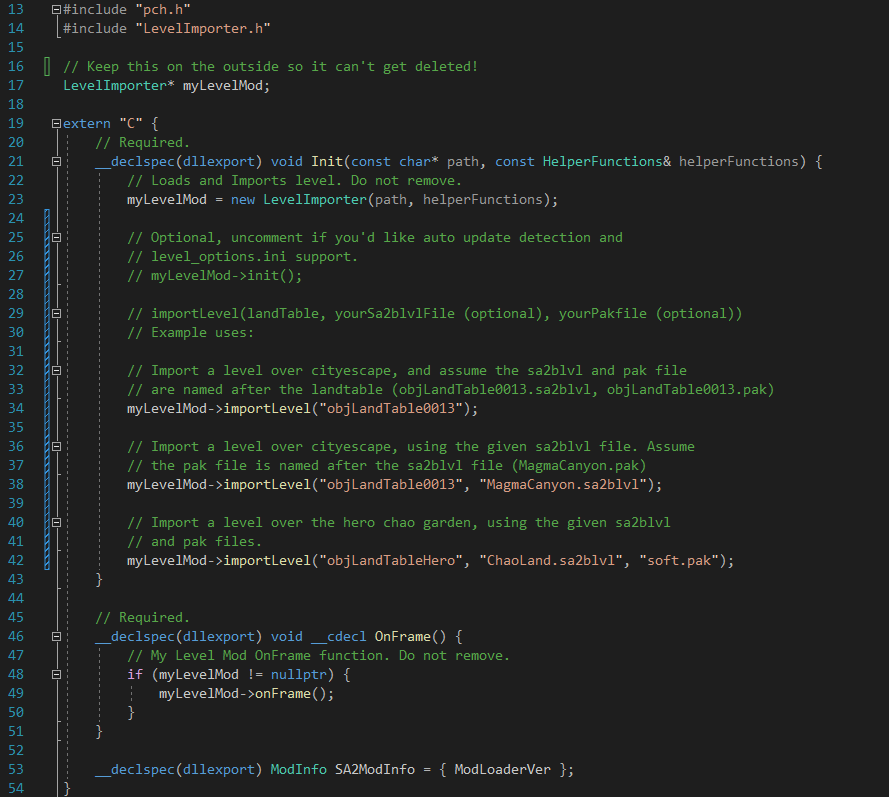
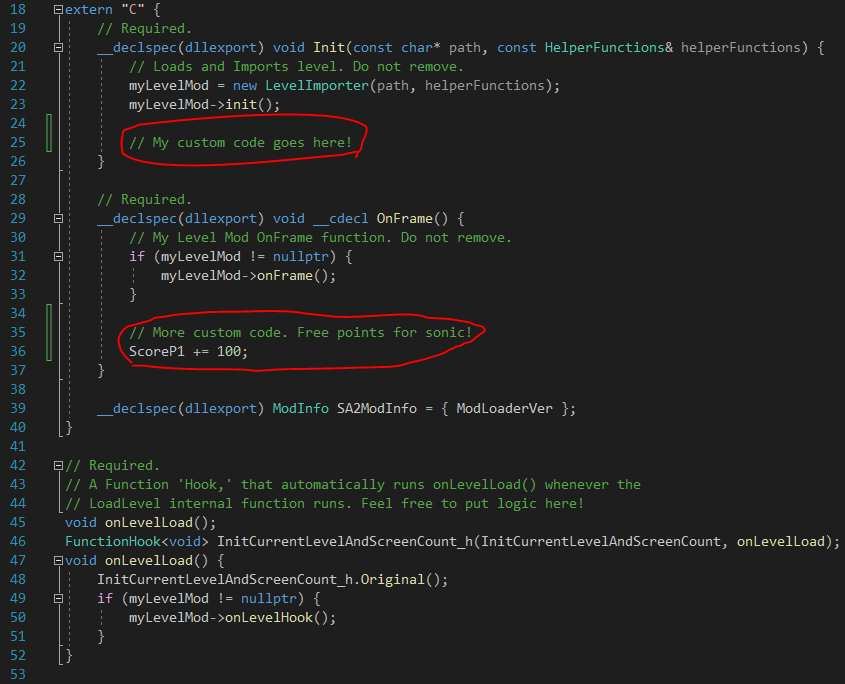
Once you've found "MyLevelMod.cpp," you are now free to write your own code as you would make a normal mod! The main difference between coding your own mod and using My Level Mod tools in this way is that you need to keep the Init and onFrame functions in your code to keep My Level Mod working- but otherwise, you can add in whatever you'd like as if it was a regular mod.
Here's a photo of what MyLevelMod.cpp currently looks like as of My Level Mod v4. My Level Mod only requires a few simple lines in these special mod functions to work properly. The photo also includes some examples of how to add custom code. Creating a mod this way will ensure that you will enjoy all the benefits of My Level Mod while also being able to add your own features!
Note: I'd recommend that if you're creating your own mod this way, that you rename the cpp file and the visual studio project to better fit your mod, and to keep things clearer.
If your mod requires more control over levels than the My Level Mod code gives you, this project also provides easy to use libraries that allows you to manually import and edit levels in the game. For most cases, this control is not necessary, and the above clone steps should be enough. But if you know for certain that you need more control, keep reading to learn more about how you can use My Level Mod's libraries.
The IniReader library is dedicated to loading information from ini files. One of its biggest features is being able to generate spline data from ini files generated by the BlenderSASupport addon, being able to let modders add rails, loops, and more to their levels!
To start, all you need to do is download "IniReader.cpp" and "IniReader.h" from the My Level Mod source code, and include it into your visual studio folder by going to the Solution Explorer, and either dragging and dropping IniReader.cpp into "Source Files" and IniReader.h into "Header Files" or, by manually right clicking Source Files & Header Files and clicking "Add existing item."
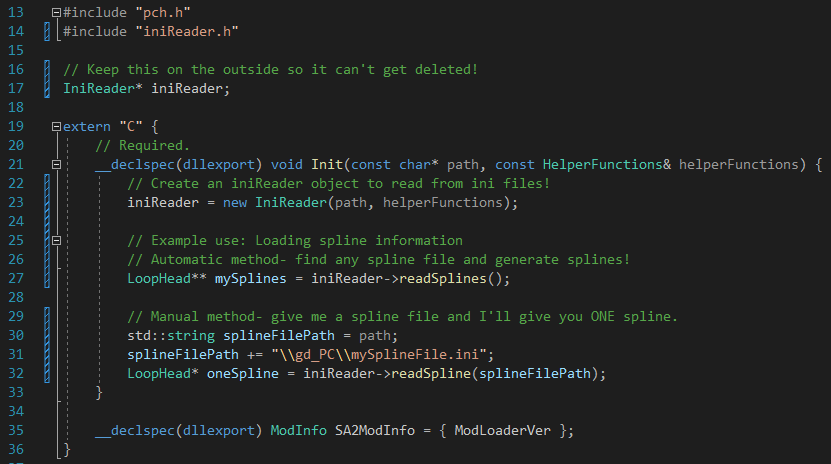
Here's an example mod that uses IniReader. All you need to do is define an IniReader above your code and create an instance in the Init function. From there, you can use it how you'd like.
Note: Another feature included in IniReader is the ability to read options from a provided 'level_options.ini' file- however, this functionality is better suited to the standard My Level Mod. In case you would like to use this functionality in your own mod, I recommend manually changing IniReader.cpp to add in your own level options & more.
The LevelImporter library is dedicated to all things levels. With it, you can import one or multiple levels into Sonic Adventure 2, through very simple functions. Its biggest feature as of My Level Mod v4 is the "importLevel" function that can take in a given landtable, sa2blvl file, and texturepak file, and automatically import it into the game.
To start, all you need to do is download "LevelImporter.cpp" and "LevelImporter.h" from the My Level Mod source code, and include it into you visual studio folder by going to the Solution Explorer, and either dragging and dropping LevelImporter.cpp into "Source Files" and LevelImporter.h into "Header Files" or, by manually right clicking Source Files & Header Files and clicking "Add existing item." LevelImporter depends on a few more things than IniReader, so make sure you're using a recent version of c++ and that you include the library tools included in the SA2ModLoader. It may also be simpler to just clone the My Level Mod repository and work from there.
Note: LevelImporter currently uses IniReader as a dependency, so if you'd like to use it, make sure you download and import IniReader into your project too. See "IniReader" library above on how to include it.
Here's an example mod that uses LevelImporter. All you need to do is define a LevelImporter above your code and create an instance in the Init function. From there, you can use it how you'd like.