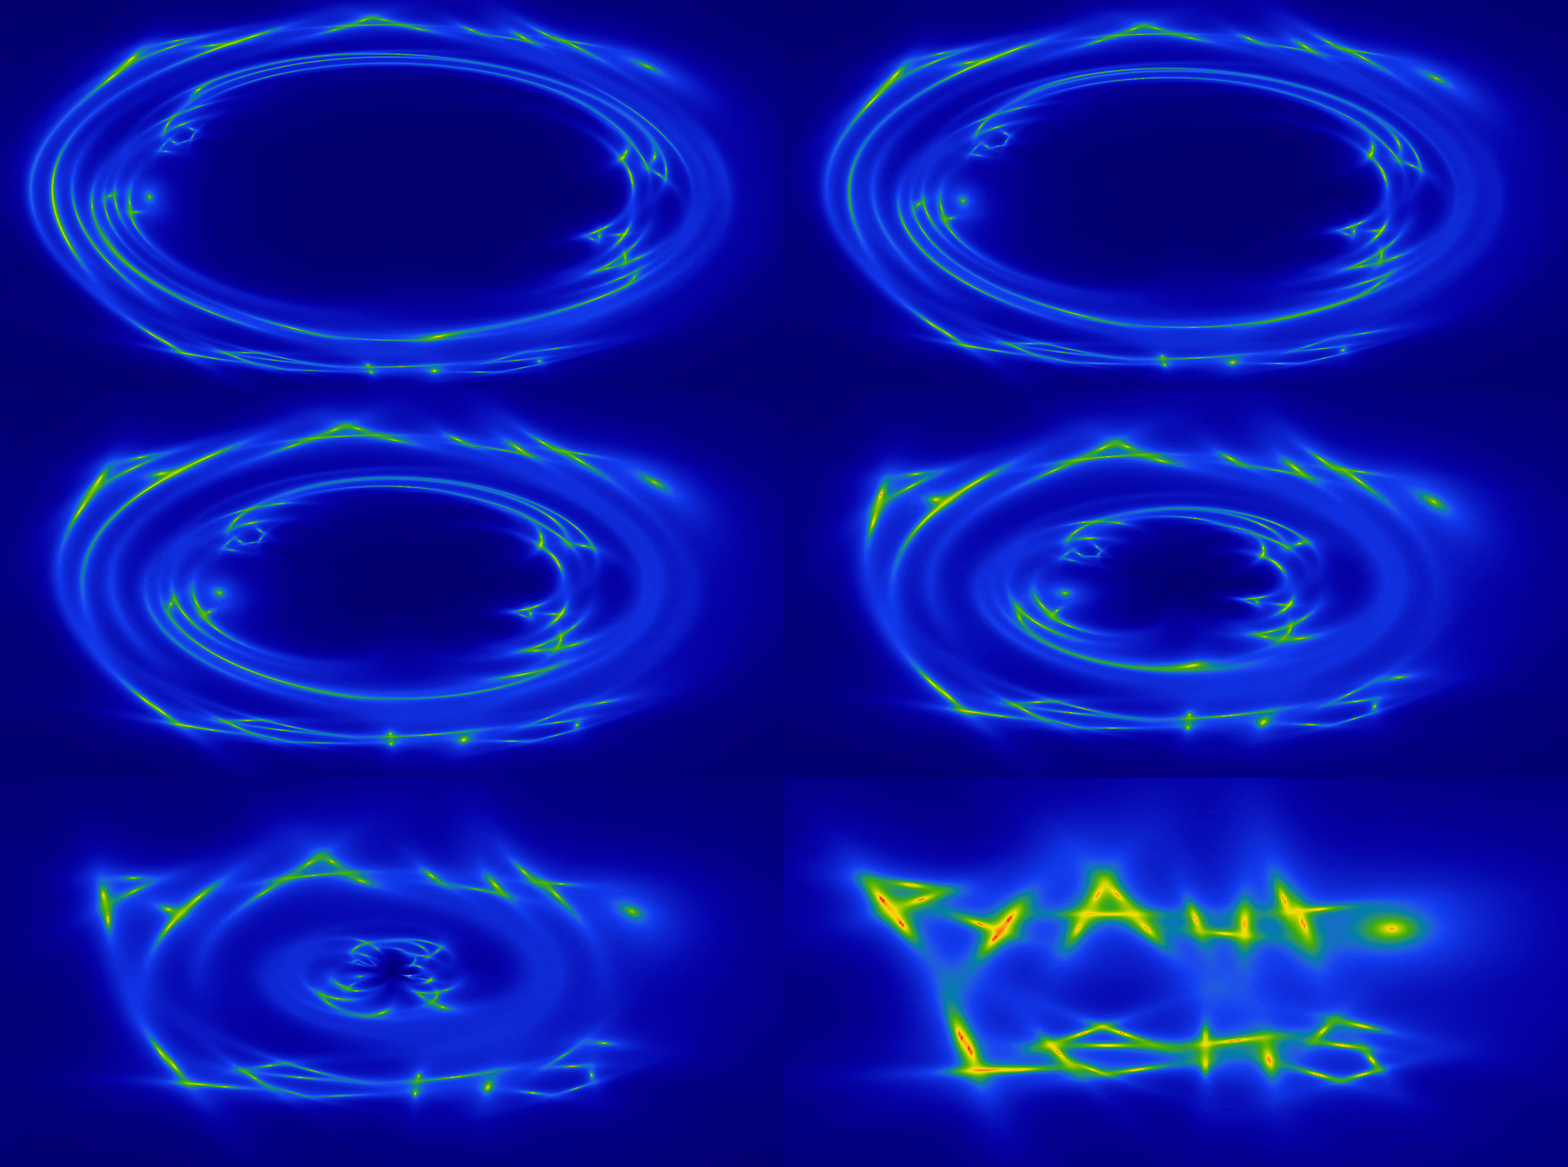
When two or more galaxies are aligned perfectly down our line-of-sight, the background galaxy appears multiple times. This is strong gravitational lensing, and PyAutoLens makes it simple to model strong gravitational lenses.
This repository is the PyAutoLens Assistant: an AI assistant you talk to in natural language to do gravitational lensing science. Describe your data, ask modelling questions, or discuss lensing theory — the assistant explains the science as it goes and writes runnable PyAutoLens Python workflows that stay in your repo.
There are two ways to use autolens_assistant, and you can start with either
depending on how hands-on you want the AI to be:
Ask questions to a conversational AI assistant such as ChatGPT or Claude in the browser. First make sure your assistant has a GitHub connector enabled so it can read this repository — without one it can't, and you should use a local coding agent (below) instead. Then paste this to get started:
Use the autolens_assistant repository to answer my PyAutoLens questions:
https://github.com/PyAutoLabs/autolens_assistant

First tell me whether you can actually read the repo. If you can't, say so
plainly — don't answer from memory.

How do I model a galaxy-scale strong lens observed with Hubble imaging?
This is ideal for learning the API, working out how to perform a calculation, and creating end-to-end example Python scripts.
Use an agentic coding tool such as Claude Code or Codex together with
autolens_assistant. These can inspect your data, write and run scripts, and
manage an end-to-end lens modeling project directly on your machine. See
Setting up an agentic assistant below for setup.
The assistant works in two modes, and you never have to choose one — it infers the mode
from your first message and tells you which it picked (e.g. "Mode: teacher — I'll explain
as we go."). If it guesses wrong, just say so. To set the mode yourself, start your message
with it (the examples below do exactly that); to make a choice permanent, record it under
"Interaction mode" in wiki/project/profile.md.
- Teacher — learn the workflow.
Teacher mode: I'm new to PyAutoLens — how do I model this image? - Assistant — do the workflow.
Assistant mode: set up a project for this dataset and write the first script.
Assistant mode adapts how much it plans, talks, and acts to your request. By default it works conversationally — doing each step with you and checking in before big decisions. Ask for autonomy ("model this lens end-to-end and track progress across sessions") and it plans in phases and runs with checkpoints instead. There is no separate mode to manage: just say how hands-on you want to be.
Fully Agentic Example Prompt 1 using Teacher Mode: Simulate Euclid imaging of a simple strong lens, fit it and then model it
A good first session if you're new to PyAutoLens and want to learn the modelling workflow end-to-end on data you generate yourself. Working from a simulation keeps things simple, the data is clean, you know the true answer, and there's nothing to inspect, so the focus stays on understanding each step.
Teacher mode.

I'm new to PyAutoLens and want to learn the basic workflow end-to-end. Can you
walk me through it on a simple simulated example: simulate Euclid-like imaging of
a simple strong lens (an isothermal mass with a Sersic source), then fit that
simulated data and recover the lens model.

Explain what each step is doing and why as we go: composing the lens and source
model, running the simulation, choosing the mask, the non-linear search, and how
to read the result. So I come away understanding the workflow, not just the
commands.
For users comfortable with strong lensing who just want the modelling done. It points the assistant at the bundled JWST data and asks for a pixelized source reconstruction, with concise output rather than a step-by-step tutorial.
Assistant mode.

Model the JWST imaging in dataset/imaging/cosmos_web_ring: perform data preparation steps,
set up a sensible lens light and mass model with a pixelized source reconstruction, run
the fit, and show me the reconstructed source and the fit residuals.
Fully Agentic Example Prompt 3 asking Assistant Mode for Autonomy: Detect a Dark Matter Subhalo in SLACS0946+1006 via Bayesian Model Comparison
For users already comfortable with strong lens modelling who want to see how far the assistant can be pushed when asked to run autonomously. SLACS0946+1006 has a famous subhalo detection that is argued to be unusually concentrated; this prompt asks the assistant to reproduce that detection and quantify the concentration via Bayesian model comparison.
Depending on your available hardware, this analysis may take hours. The last sentence of the prompt asks the agent to estimate the run time and, if needed, walk you through setting the analysis up on a High Performance Computer (HPC) you have access to.
Assistant mode.

The strong lens SLACS0946+1006 famously has a dark matter subhalo
detection that many argue is unusually concentrated. I'd like to analyse
the HST imaging of this lens provided at
dataset/imaging/slacs0946+1006/ and reproduce that detection.

Specifically, I want this analysis to perform Bayesian model comparison
to (a) confirm a subhalo is preferred over a smooth-mass baseline by
fitting a free-position, free-mass SIS perturber across the image plane
and comparing the Bayesian evidence to the no-subhalo fit, and (b) test
the "super-concentrated" claim by comparing the SIS subhalo
against a more shallow NFW mass profile at the recovered position.

Set the pipeline up so the smooth lens light and mass model, the
pixelized source reconstruction, and the subhalo results are all
inspectable on my computer, and report the Bayesian evidence for each
comparison.

Assess whether the analysis will run fast on my laptop / PC GPU,
and if not, set this up as a small project on the HPC I have access to.
The Fully Agentic AI option above needs a local clone and a CLI coding agent. Here is how it works.
Clone the autolens_assistant repo:
git clone https://github.com/PyAutoLabs/autolens_assistant.git
cd autolens_assistant
Open a CLI coding-agent session inside that directory. This is the primary and most capable way to use the assistant because the agent can read the full instructions, inspect data, write scripts, run checks, and keep project state with you. Coding agents often require a paid subscription or metered API account for sustained use, although limited free tiers and organization or student access may be available.
| Interface | Support | Access and cost | Notes |
|---|---|---|---|
| Claude Code | Primary; thoroughly tested | Normally a paid Claude subscription or metered API usage. | Loads the canonical instructions through CLAUDE.md. |
| Codex CLI | Primary; thoroughly tested | A limited free plan may be available; paid plans or API billing provide more usage. | Reads AGENTS.md directly and can edit and run the project locally. |
| Gemini CLI | Supported | Offers limited free quotas; subscriptions or usage billing provide higher limits. | Loads the repository instructions through .gemini/settings.json. |
| OpenCode | Supported | The client is open source; model-provider access may be free or paid. | Use it from the repository root so it can discover the project context. |
| GitHub Copilot CLI | Compatible; verification pending | Copilot Free has limited usage; paid or organization plans are common. | GitHub documents direct support for root AGENTS.md instructions. |
claude # alternatively: codex, gemini, opencode, or copilotThese agents load the project instructions automatically, so you do not need to paste a large system prompt. If PyAutoLens is not installed in the active environment, the assistant checks the setup and guides you through it. Then describe your science case or ask a question, see the example starting prompts above.
If you are more familiar with conversation-based AI assistants such as ChatGPT or Claude on the
web, you can still use autolens_assistant. The front-door llms.txt holds the
bootstrap prompt and read-order: with a GitHub connector enabled, give the assistant this
repository's URL and it reads the files itself.
This is effective for learning PyAutoLens, asking how to perform lensing calculations or modelling tasks, interpreting and debugging errors, and getting draft code. However, it is not fully agentic: the assistant cannot inspect your local data, run the code, or maintain a science project unless you provide the relevant files and outputs.
autolens_assistant is the copilot; a science project is a separate repo. This repo is
the assistant you clone once — its skills, wiki, and tooling. Your actual science lives in a
science project: a separate, self-contained git repo for one analysis or paper, created by
start-new-project. The project holds your data, config, scripts, results, and a
wiki/project/ journal; for the assistant's skills and reference wiki it refers back to
this autolens_assistant clone (cloning it on demand if absent), so there's one source of
truth and no drift. Quick exploration can happen inside this clone (e.g. the bundled-dataset
README examples); a real analysis headed for a paper gets its own project.
Starting one — and its whole lifecycle (create → work → collaborate → publish) — is handled by
the single start-new-project skill.
Built to be shared. The project repo is the collaboration surface: push it to GitHub and a
collaborator simply forks or clones it and continues the work with their own assistant —
the project refers back to autolens_assistant automatically, so they inherit the same
skills, reference wiki and safety rules it was built with, plus your full decision journal.
And when the paper is ready, the same repo is its natural open-source companion: the data
(or its availability statement), the results, and every python script that produced them, in
one citable repo — hardened by a publish checklist and released with a Zenodo DOI and
CITATION.cff. Anyone who reads the paper can reproduce the analysis, and fork it to build
on your work.
Example prompts:
Start a science project for my SLACS0946 analysis.
Share this project with my collaborator — private GitHub repo, and tell me what they need
to do to continue the work with their own assistant.
Give me a collaborator update: best model so far, key figures, open concerns, next run.
Prepare this project for public release as the open-source repo that goes with the paper —
keep the raw data private; make the code, figures, manifests, citation and DOI
publication-ready.
The three example prompts above (plus the hard cross-package benchmark) are
also shipped as frozen benchmark prompts under benchmarks/,
with scoring rubrics and a small harness that records each run's conversation,
results and score. Run them against different AI agents and models — or the
same model on different days — and the committed run records in
benchmarks/runs/ plus the regenerated tables in benchmarks/RESULTS.md give
you an evidence-backed comparison of how well each setup drives the assistant.
The protocol is in benchmarks/README.md.
The assistant doesn't just know the PyAutoLens API — it ships with a
strong-lensing literature wiki at wiki/literature/ covering the
science the modelling is in service of. It has concept pages (mass-sheet
degeneracy, dark-matter substructure, time-delay cosmography, multipoles,
…), named-entity pages (SLACS, H0liCOW, TDCOSMO, Euclid Q1, Abell 1201,
…), and per-topic bibliographies summarising the relevant published
papers. When you ask a science question or start a modelling discussion,
the assistant grounds itself in this material rather than guessing from
general knowledge.
This is a base literature wiki — a self-contained starting point that ships with the assistant. It is intentionally not tied to any external paper archive: every page stands on its own and cites papers by arXiv/DOI link or author-year, so a fresh clone has full scientific context with nothing else to download. It is also deliberately not exhaustive. The wiki is yours to grow: as you work on a project, you add the papers, results and context your science needs, and from then on the assistant reasons and cites from them. (A future guided "new science project" workflow will walk you through this setup explicitly.)
If a paper matters to your science case and isn't in the wiki yet, you can ask the assistant to ingest it. Give it either a local PDF or an arXiv URL and it adds a summary to the right topic bibliography, cross- links the relevant concepts and entities, and from then on can cite the paper in answers:
Ingest the following paper into the literature wiki so you can use it
when we talk about subhalo detection:

  arXiv:2401.01234

(Or, if you have the PDF locally:
  /path/to/subhalo_paper.pdf)

Once it's ingested, summarise what it adds beyond what the wiki already
covers on dark-matter substructure.
The more papers relevant to your science case you load in, the better the assistant will be at framing decisions, citing prior work, and spotting when a result has caveats.
The assistant ships agent instructions and reference material derived from the public PyAuto* repositories. The underlying libraries are released under their own licenses (see each repo).