A sleek, premium web-based RCE panel designed to simplify remote VPS access. This panel allows you to manage your server through a high-performance web interface, eliminating the need for traditional SSH clients in many scenarios.
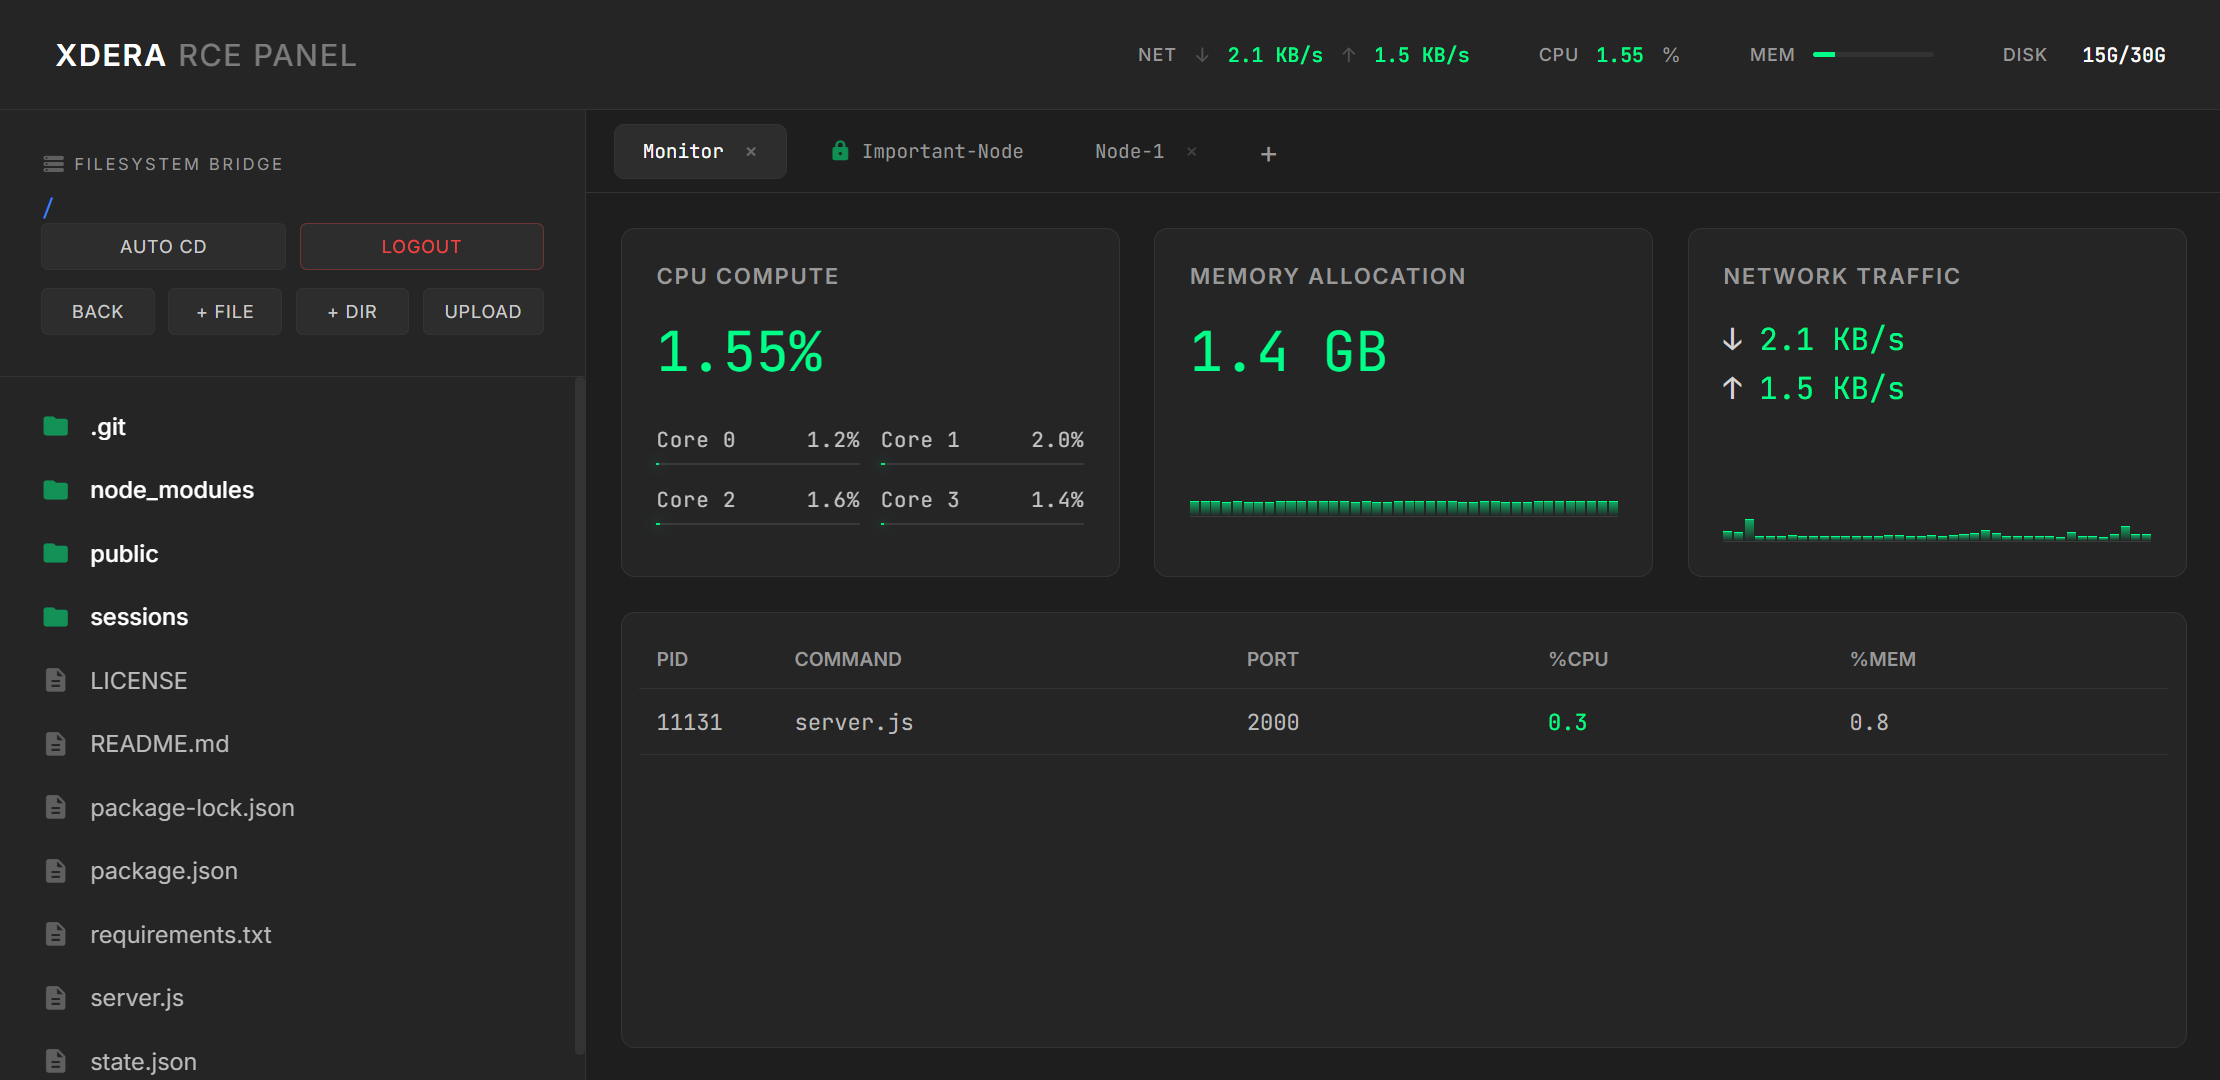
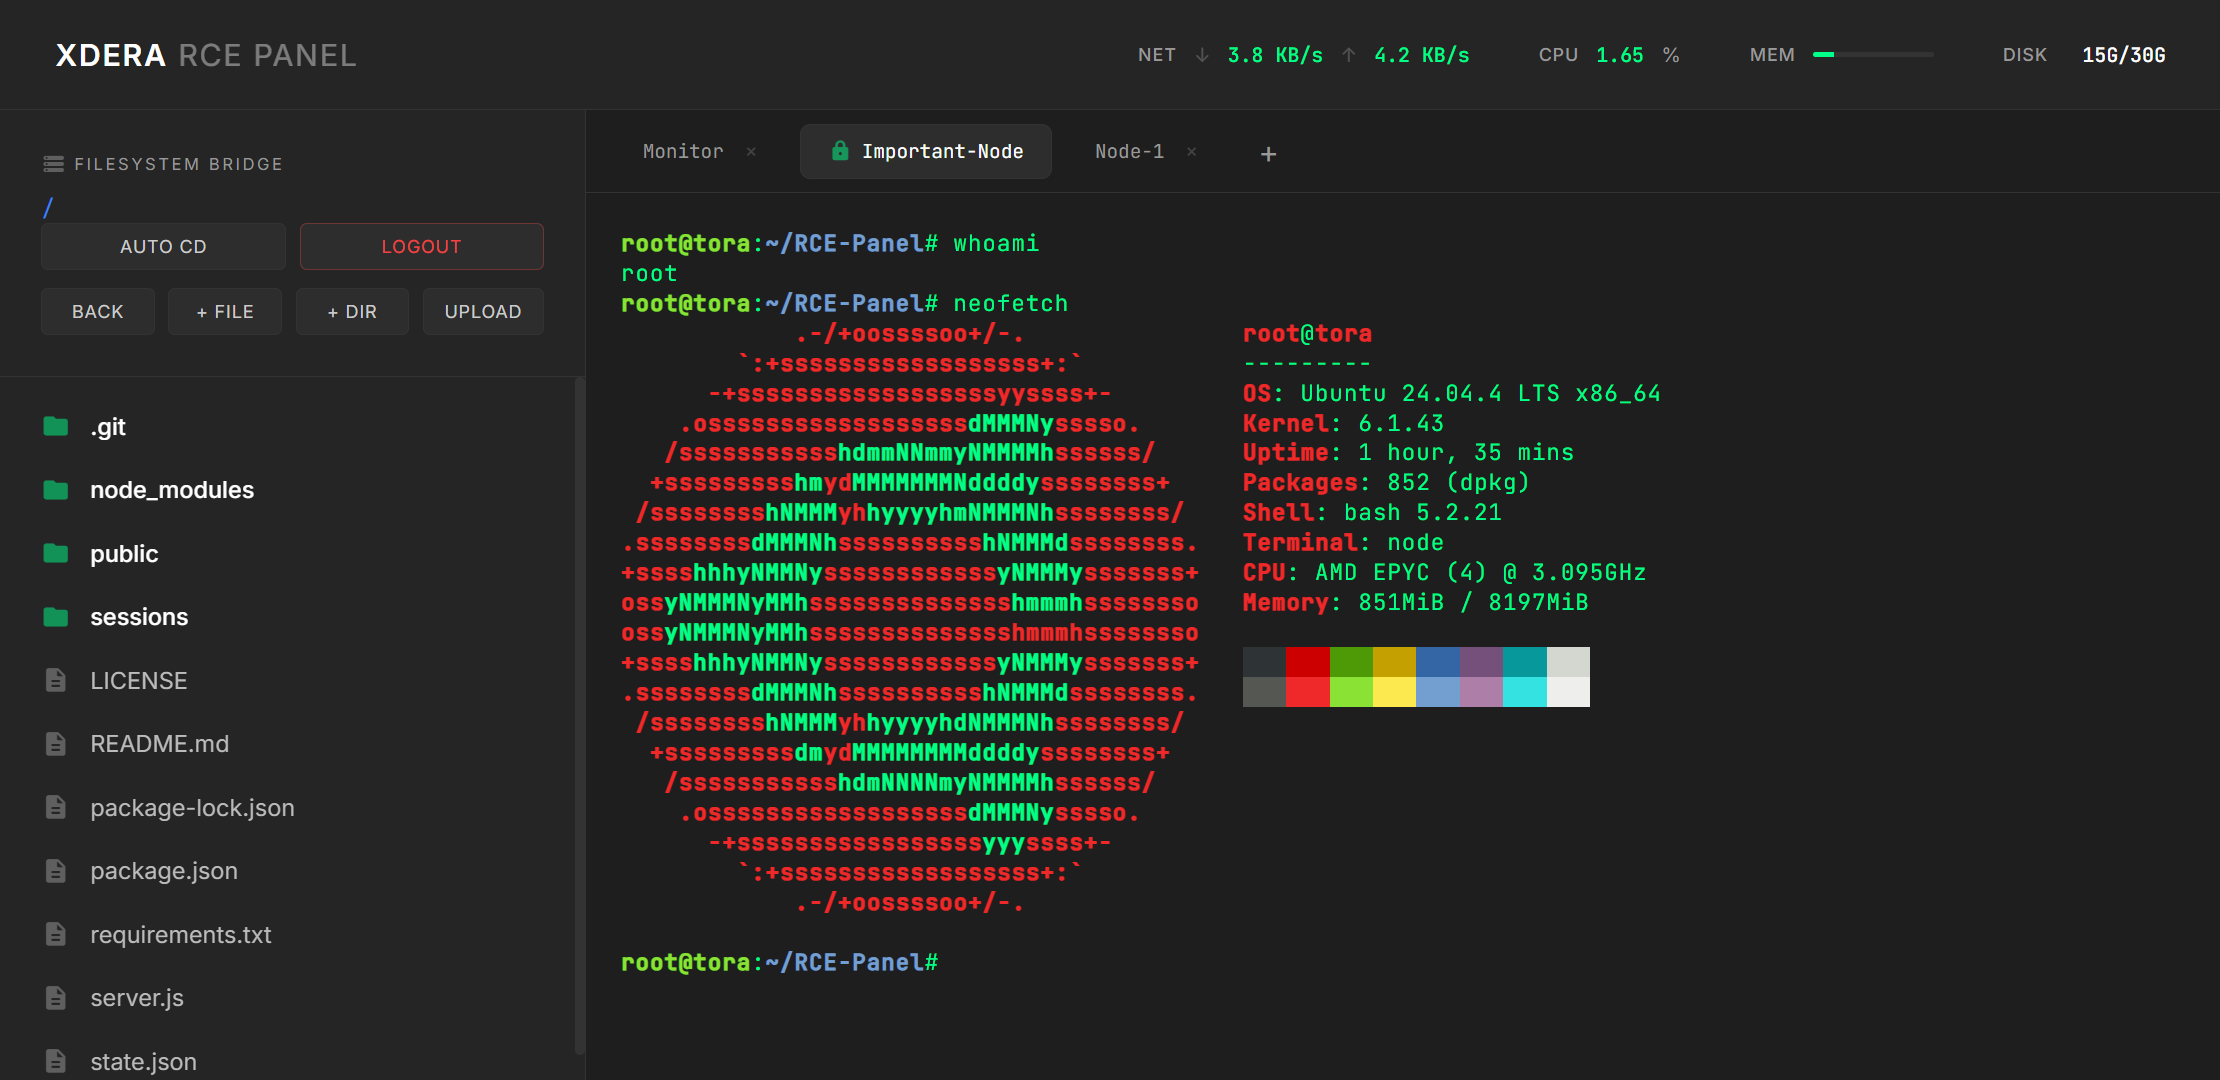
- Xterm.js Terminal: Multi-tab terminal interface with real-time feedback.
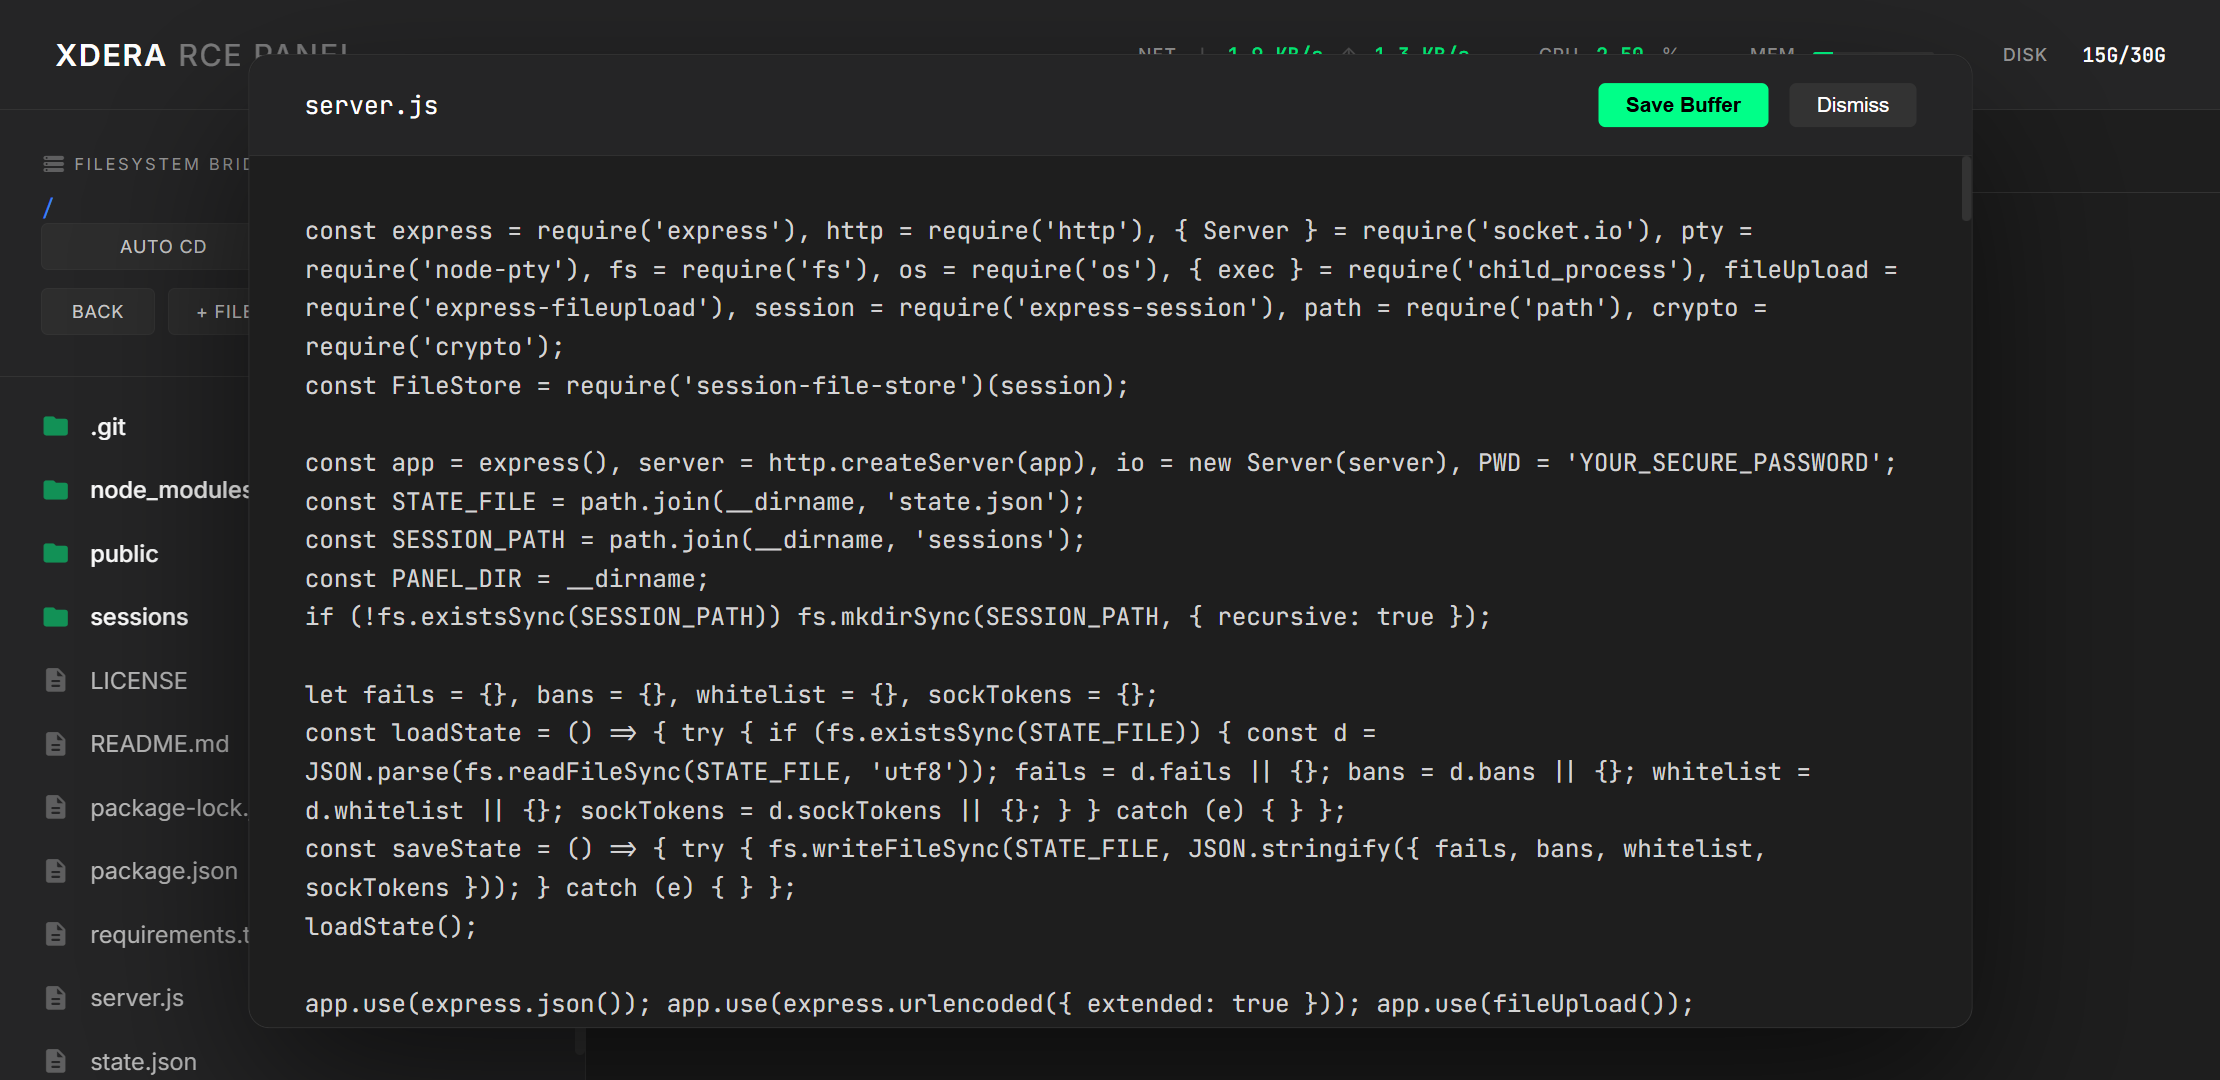
- Filesystem Bridge: Integrated file explorer with upload, download, and editor capabilities.
- Process Manager: Real-time monitoring and management of system processes.
- Resource Monitoring: Dynamic CPU, Memory, and Network usage tracking.
- Secure Authentication: Password protection with robust session management.
-
Clone the repository:
git clone https://github.com/XDERA-Network/RCE-Panel.git cd RCE-Panel -
Install dependencies:
npm install
-
Set Security Credentials: Open
server.jsand update the following placeholders:- Line 4: Set your
PWD(login password). - Line 19: Set your
secret(session encryption key).
const PWD = 'YOUR_SECURE_PASSWORD';
secret: 'YOUR_SESSION_SECRET',
[!IMPORTANT] Do not run the panel with the default placeholder credentials. Ensure you set complex, unique strings for both the password and the session secret before starting the server.
- Line 4: Set your
-
Start the server in background:
node server.js &The server will start on port
2000. The&symbol at the end of the command tells Linux to run the process in the background, allowing you to continue using your terminal or close the session while the panel remains active.
For production or long-term use, we highly recommend using PM2 (Process Manager 2). This ensures that the server automatically restarts if it crashes or if the VPS reboots.
-
Install PM2 globally:
npm install -g pm2
-
Start the Panel with PM2:
pm2 start server.js --name xdera-panel
-
Manage the process:
pm2 list- View statuspm2 logs xdera-panel- View logspm2 restart xdera-panel- Restart the server
To access your panel securely from anywhere without opening ports on your VPS, we recommend using Cloudflare Tunnel.
If you don't have a domain yet, you can start a temporary tunnel:
npx cloudflared tunnel --url http://localhost:2000Cloudflare will provide a randomly generated .trycloudflare.com URL that you can use to access your dashboard.
To use your own domain (e.g., panel.yourdomain.com), follow these steps:
-
Install Cloudflared: Follow the official guide to install
cloudflaredon your VPS. -
Login to Cloudflare:
cloudflared tunnel login
-
Create a Tunnel:
cloudflared tunnel create xdera-panel
-
Configure Routing: Map your domain to the tunnel:
cloudflared tunnel route dns xdera-panel panel.yourdomain.com
-
Run the Tunnel: Connect the local port
2000to the Cloudflare network:cloudflared tunnel run --url http://localhost:2000 xdera-panel
Now, you can access your panel at https://panel.yourdomain.com/dashboard/.
MIT