Extensions / Add-Ons development for browsers. A complete boilerplate to get started!!!

{
	"name": "<name for extension>",
	"version": "1.0",
	"description": "<description>",
	"manifest_version": 2
}- open
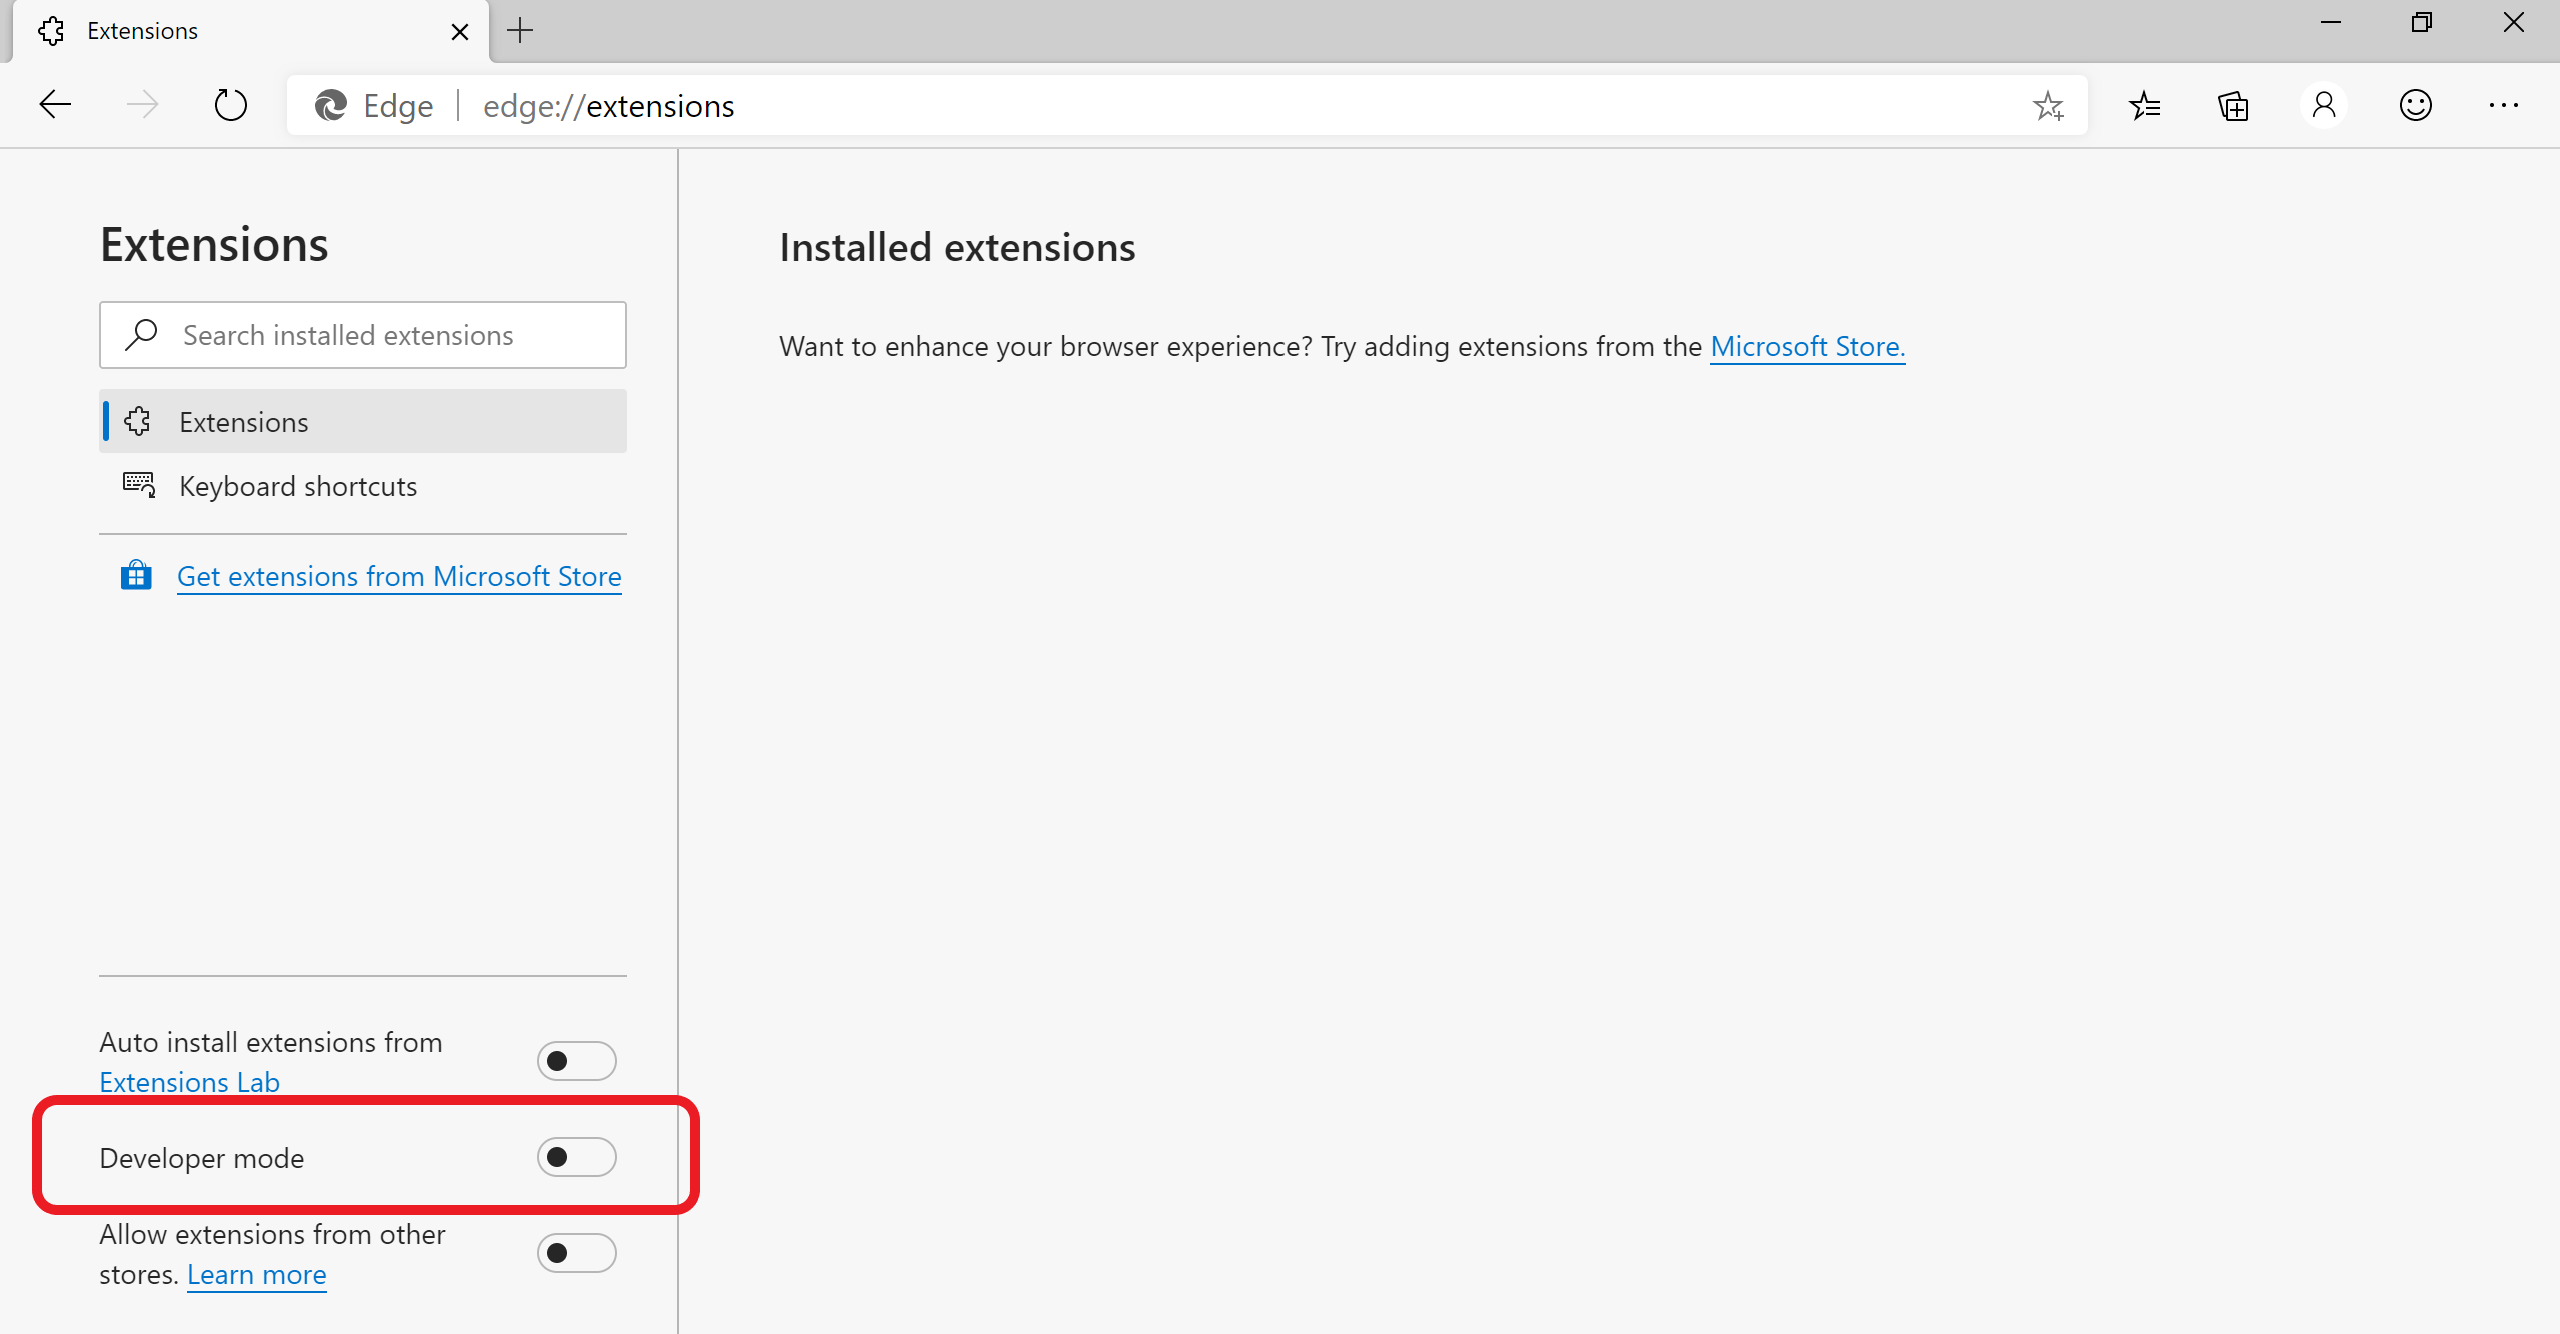
edge://extensions/in your browsers - DEVELOPER MODE has to be enabled to be able to upload the extension
- Load the extension into the browser by clicking Load Unpacked button then selecting the folder that you just created
- see the extension next to address bar and pin it.
<!DOCTYPE html>
<html lang="en">
<head>
  <meta charset="UTF-8">
  <meta http-equiv="X-UA-Compatible" content="IE=edge">
  <meta name="viewport" content="width=device-width, initial-scale=1.0">
  <title>Document</title>
</head>
<body>
  <div>
    <input id="text" type="number">
    <button id="btn">submit</button>
  </div>
</body>
</html>"browser_action": {
"default_popup": "popup.html"
}*{
margin: 0;
padding: 0;
box-sizing: border-box;
}
body {
width: 300px;
height: 300px;
display: flex;
align-items: center;
justify-content: center;
}
div * {
padding: 11px;
font-size: 1.2em;
max-width: 100px;
}
button {
cursor: pointer;
}- do some simple JS to show where to debug
document.getElementById('btn').addEventListener('click', () => {
	chrome.runtime.sendMessage({interval:document.getElementById('text').value}, function(response) {
		console.log(response, 'popup');
	});
})- link to send message documentation to understand what it does
- add
popup.jslink in html
- dummy script to debug background
"background": {
    "scripts": ["background.js"],
    "persistent": true
}- explain
persistentkeyword
let id = null;
chrome.runtime.onMessage.addListener(
  function(msg, sender, sendResponse) {
    console.log(msg, 'bg');


    let interval = +msg.interval;
    if (isNaN(interval)) interval = 10000;
    else interval *= 1000;

    clearInterval(id);

    id = setInterval(() => msgContentScript(msg), interval);

    sendResponse('from bg')

  }
);

function msgContentScript(msg) {
  chrome.tabs.query({active: true, currentWindow: true}, function(tabs) {
    chrome.tabs.sendMessage(tabs[0].id, {interval: msg.interval});
  });
}- explain in parts when by first adding listener and then adding message passing to content
- link to documentation
- if tabs doesn't work you might need permission to access
- dummy content script and debug it
- refresh extension to update css changes
"content_scripts": [
    {
      "matches": ["<all_urls>"],
      "js": ["content.js"],
      "css": ["content.css"]
    }
]let id = null;
console.log('hi content');
chrome.runtime.onMessage.addListener(
function(msg) {
addDiv();
}
);
function addDiv() {
const div = document.createElement('div');
div.classList.add('overlayFromExtension');
div.innerText = "Look away from your screen!!";
document.body.appendChild(div);
setTimeout(() => div.remove(), 2000);
}- add new tab to see it works there as well.
.overlayFromExtension{
  color: #ccc;
  text-transform: capitalize;
  position: fixed;
  top: 0;
  bottom: 0;
  left: 0;
  right: 0;
  background-color: rgba(0,0,0,.8);
  display: flex;
  align-items: center;
  justify-content: center;
  font-size: 3em;
  z-index: 9999;
}- chrome://extensions/